
With the charm cast at the end of Part 2, it was time to turn it into a thing of beauty!
Out of the mold, though, it was not so pretty:
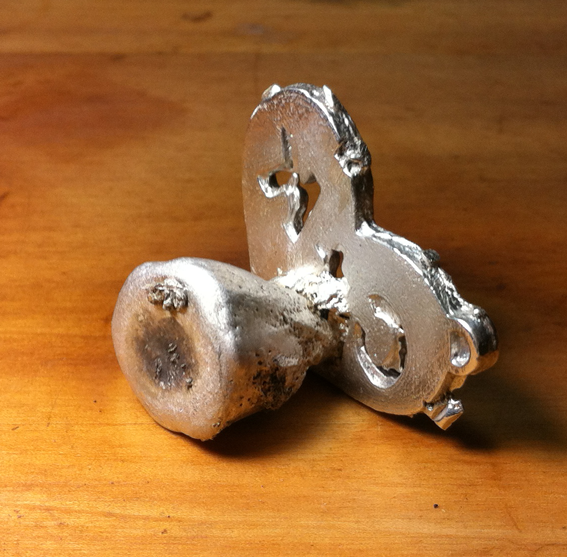
Kind of charm free at this point!
The basic problem was that there was excess metal all over the place. Some is unavoidable — the large knob on the back is from the funnel the silver was poured down. The bumps around the side are where the air vents were in the mold — the metal flowed past the edge of the design. Other places were just as a result of the mold being flawed: I found it very hard to get the “delft clay” sand casting system to hold together inside of the letters.
So the process of finishing the charm consisted mostly of removing the excess metal. I used a small grinding wheel on my flex shaft to remove the metal on the outside edge:
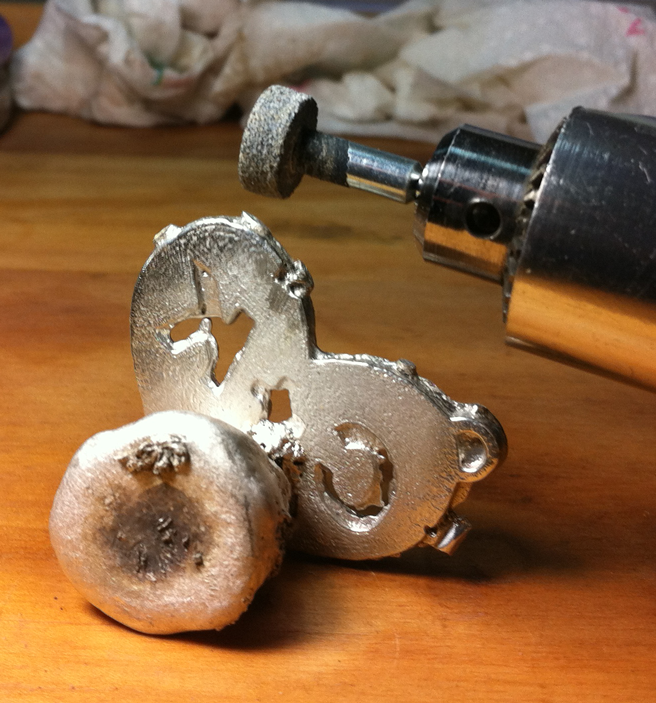
Grinding away the excess metal!
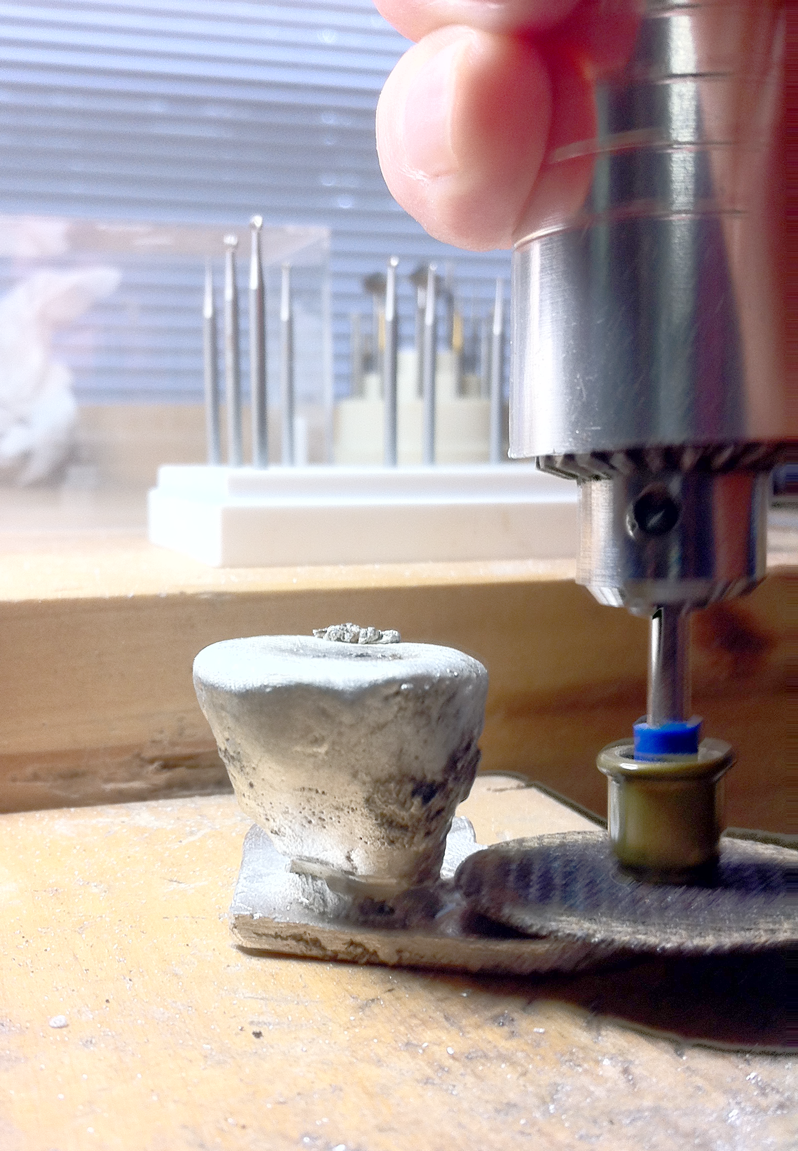
Then I had to work on the inside of the letters:
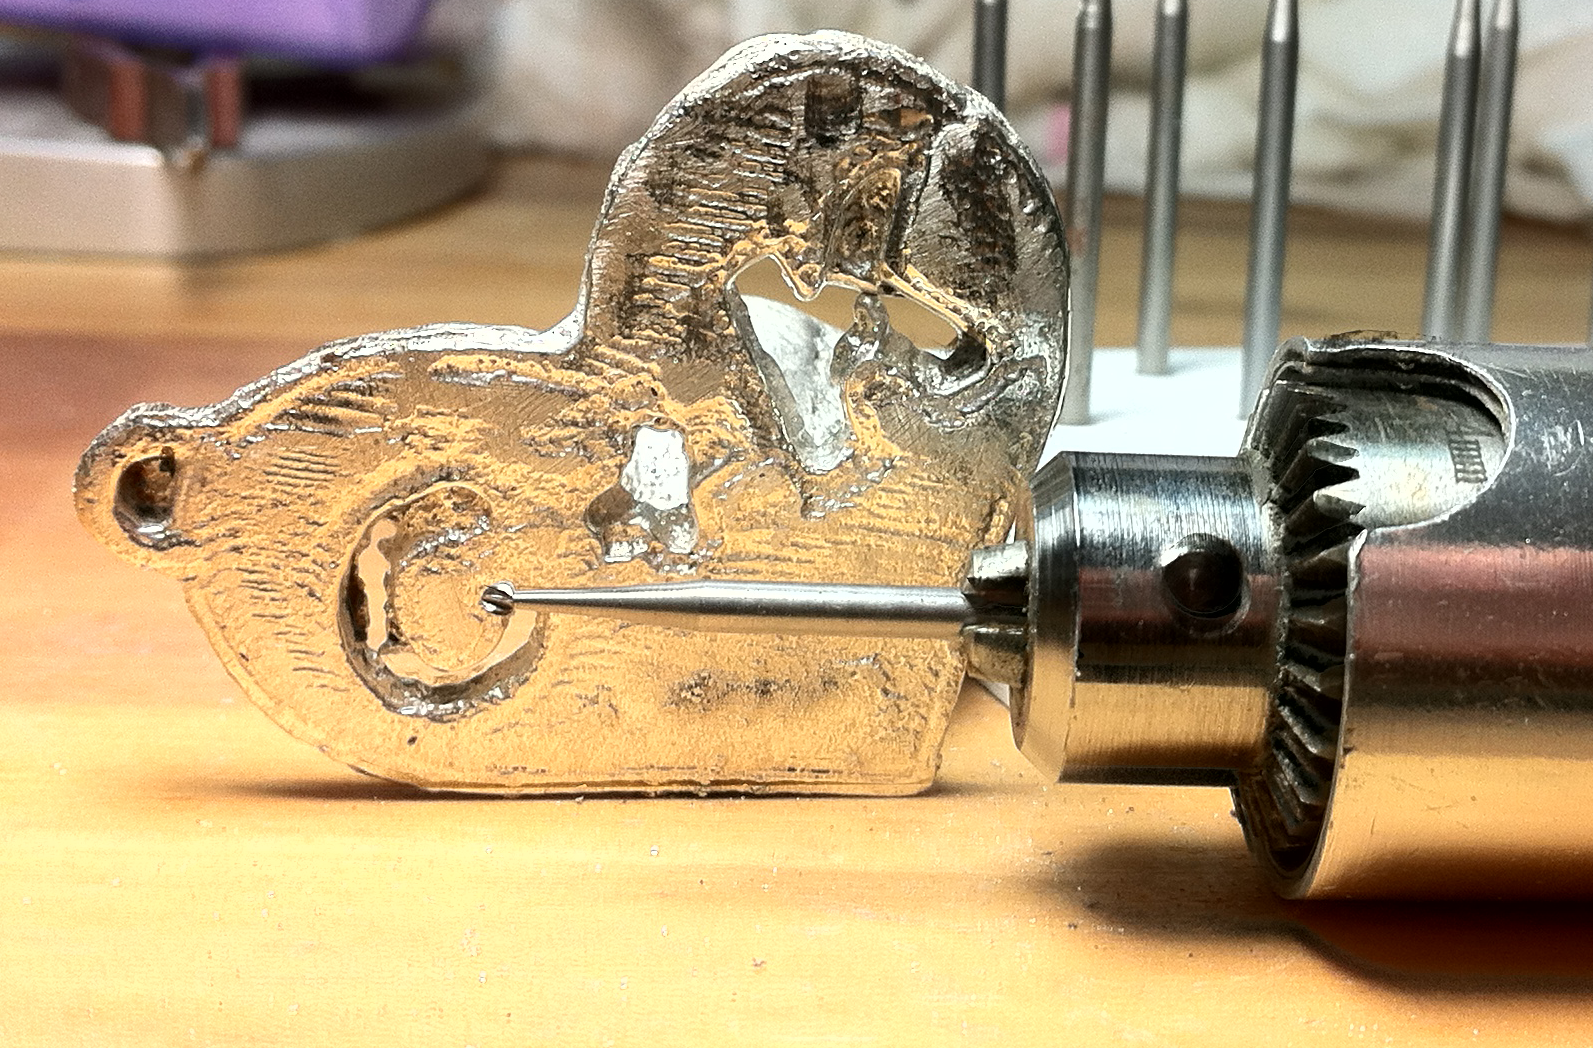
This is a a ball burr, which is small enough to get inside of the letters and quickly remove the extra silver in them.
You might notice the cross hatching pattern on the surface of the charm — this is actually from the 3D model itself. And while it’s charming to see the 3D model faithfully reproduced, it’s not something I want to see in the finished product. I’ll end up losing a fair amount of thickness when I file the surface flat.
In additional to the ball bur, I used jeweler’s needle files to clean up inside the letters:
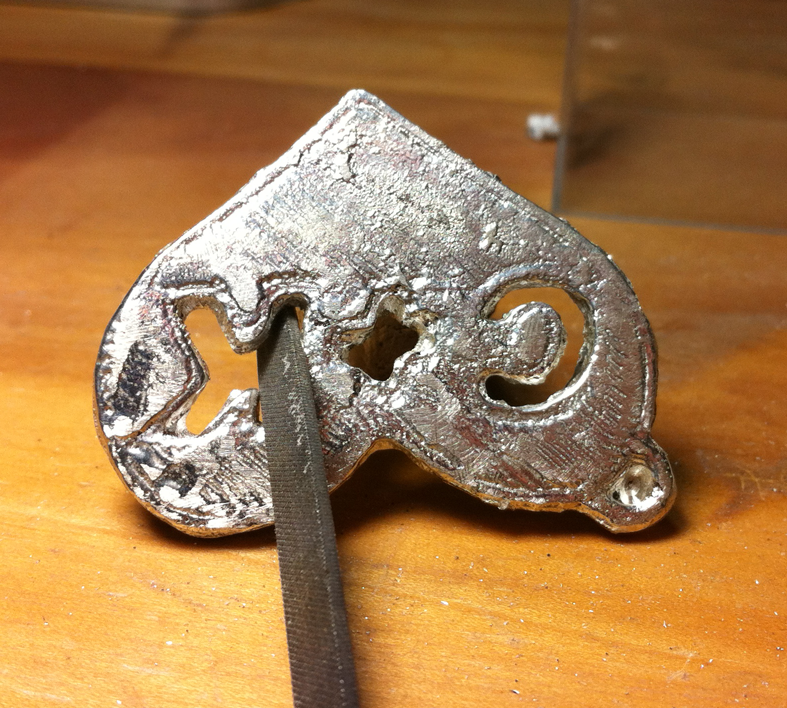
It’s looking better!
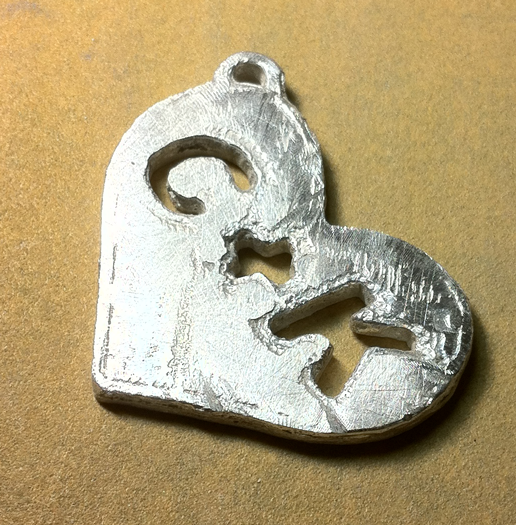
When the letters were cleaned up, I went ahead and removed the “button” on the back of the charm:
Closer to its final shape!
All that was left was to file down the front and back to a flat surface and then polish it up. That starts with sanding:
Getting very close!
From there the process consists of sanding/filing with progressively finer grit and then lastly taking it to the buffing machine for the final finish.
I also soldered on a short length of chain and a lobster claw clasp to complete the charm. The final pictures will be in the next post!