
Drawing the heart
The first step in this process is to draw the heart with Blender’s Bezier Curve feature.
- Start Blender, delete the camera, default cube, and light to get a blank scene. We don’t need any of them.
- Put yourself in top view (numpad 7) and Orthographic perspective (numpad 5). This gives us a 2D, graph paper like world to draw in:
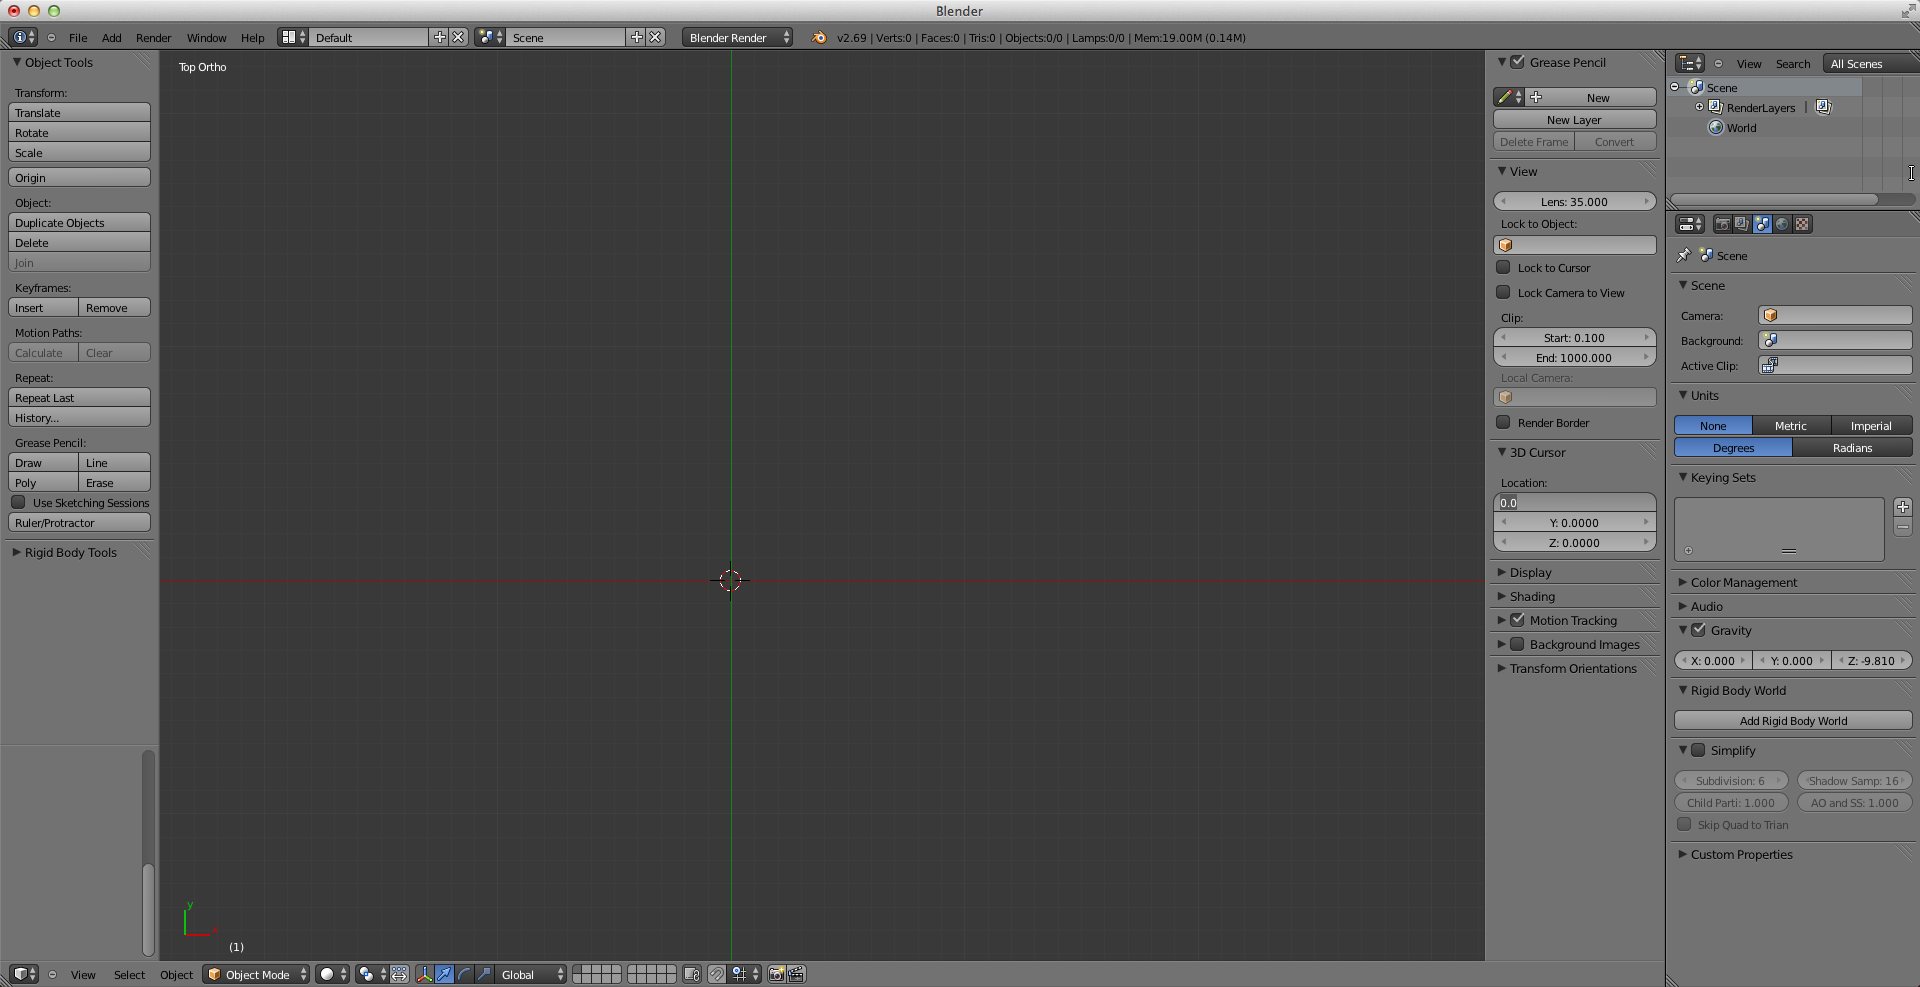
Click to enlarge
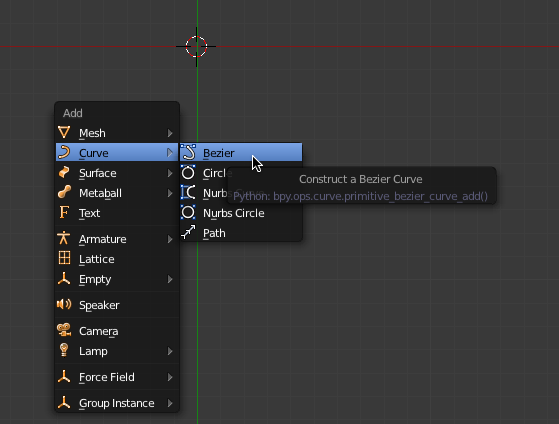
- Next, we’re going to add a Bezier curve. I do that by pressing Shift-A for Add, then selecting Curve, and then Bezier:
- When this is done, you have an itty bitty Bezier curve:
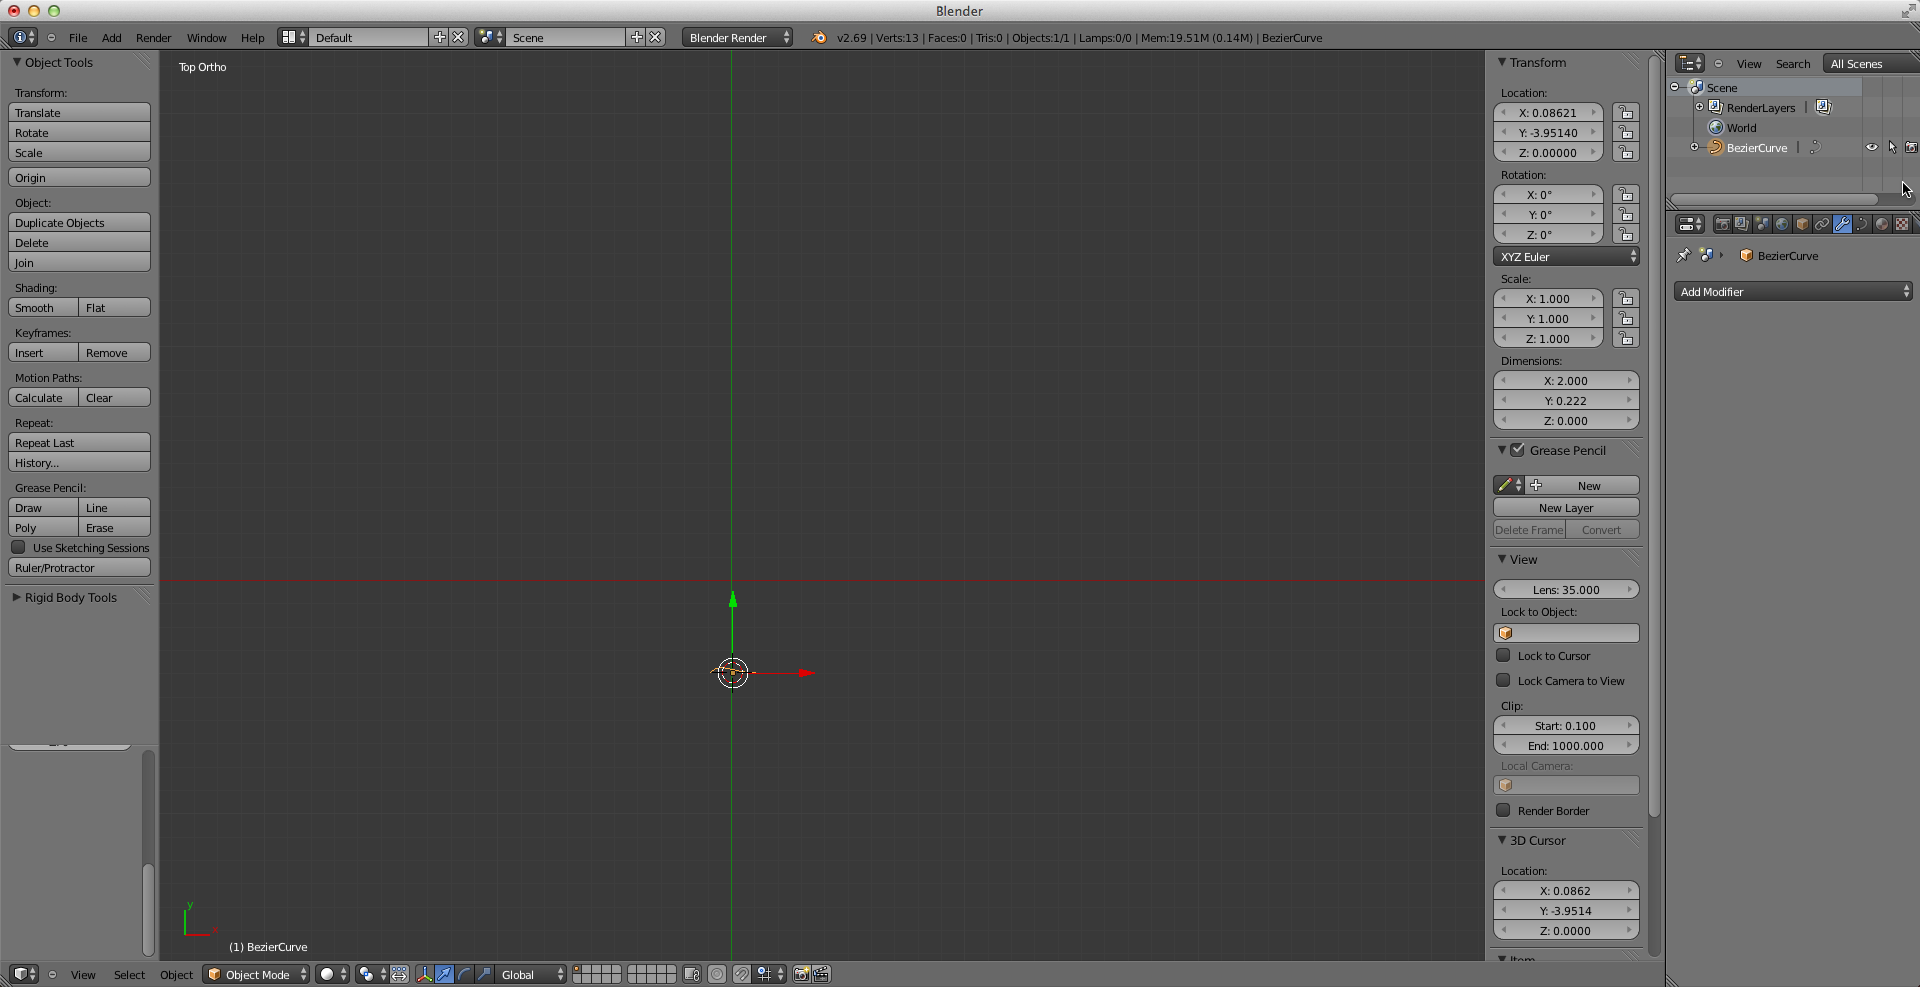
Click to enlarge
- You can mouse wheel and play with the viewport (I like to slide it around with shift-middle-button) to scroll in a bit closer.
- Hit tab to shift into Edit mode. The construction of your curve becomes a lot more apparent:
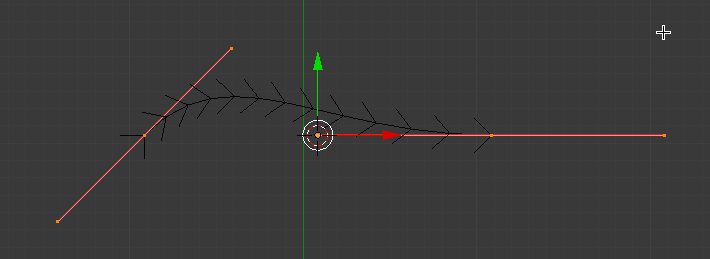
- Now you can see the start control point, its two handles, and the end control point and its two handles. We need to edit this into a heart. Roughly speaking, a heart has four control points (like a square, oddly enough). One at the bottom, one at the “V” at the top, and two on each side. We’re going to first very roughly lay out the heart and then perfect it later on.
- First, we need to get two more control points. You do this, while in Edit mode, by clicking on a control point and then pressing e for extend. Let’s click on the control point on the right and press (lower case) e:
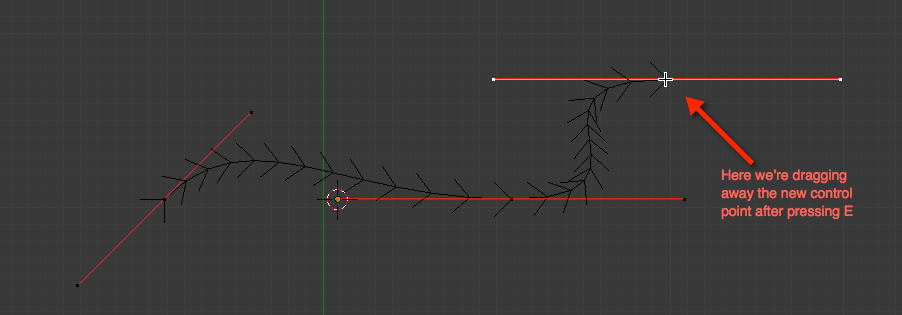
- Once you press e, you start dragging away a new control point. You can then drop it by left-clicking where you want it.
- Do this one more time to add your fourth point:

- Apart from the obvious non-heartness of this, there’s another big problem: the last control point doesn’t connect to the first. You might be tempted to press e again, and drag a new control point on top of the first. Do not do that, it does not produce a nice closed shape. Instead, go to the Curve menu on the bottom and find “Toggle Cyclic”:
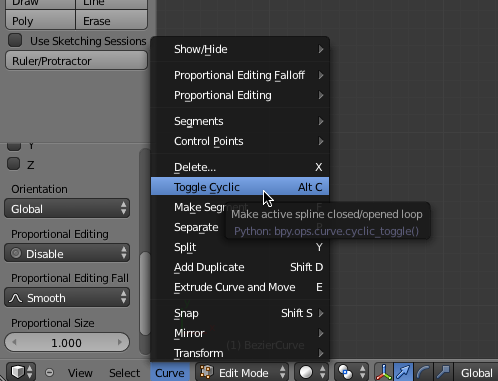
- And magically, your heart is closed:
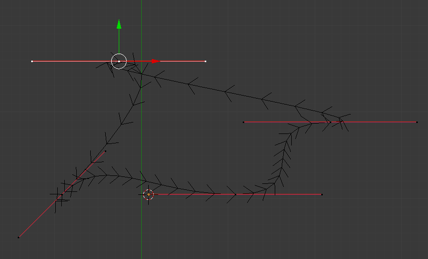
Well, I guess if you’re a fan of abstract art it’s a heart. But for the more conventional of the rest of us, it needs some more work…
- Let’s first get the control points into the very basic shape of a heart, and then we can work on it to get everything just right. Select one of the control points towards the bottom by right clicking it:
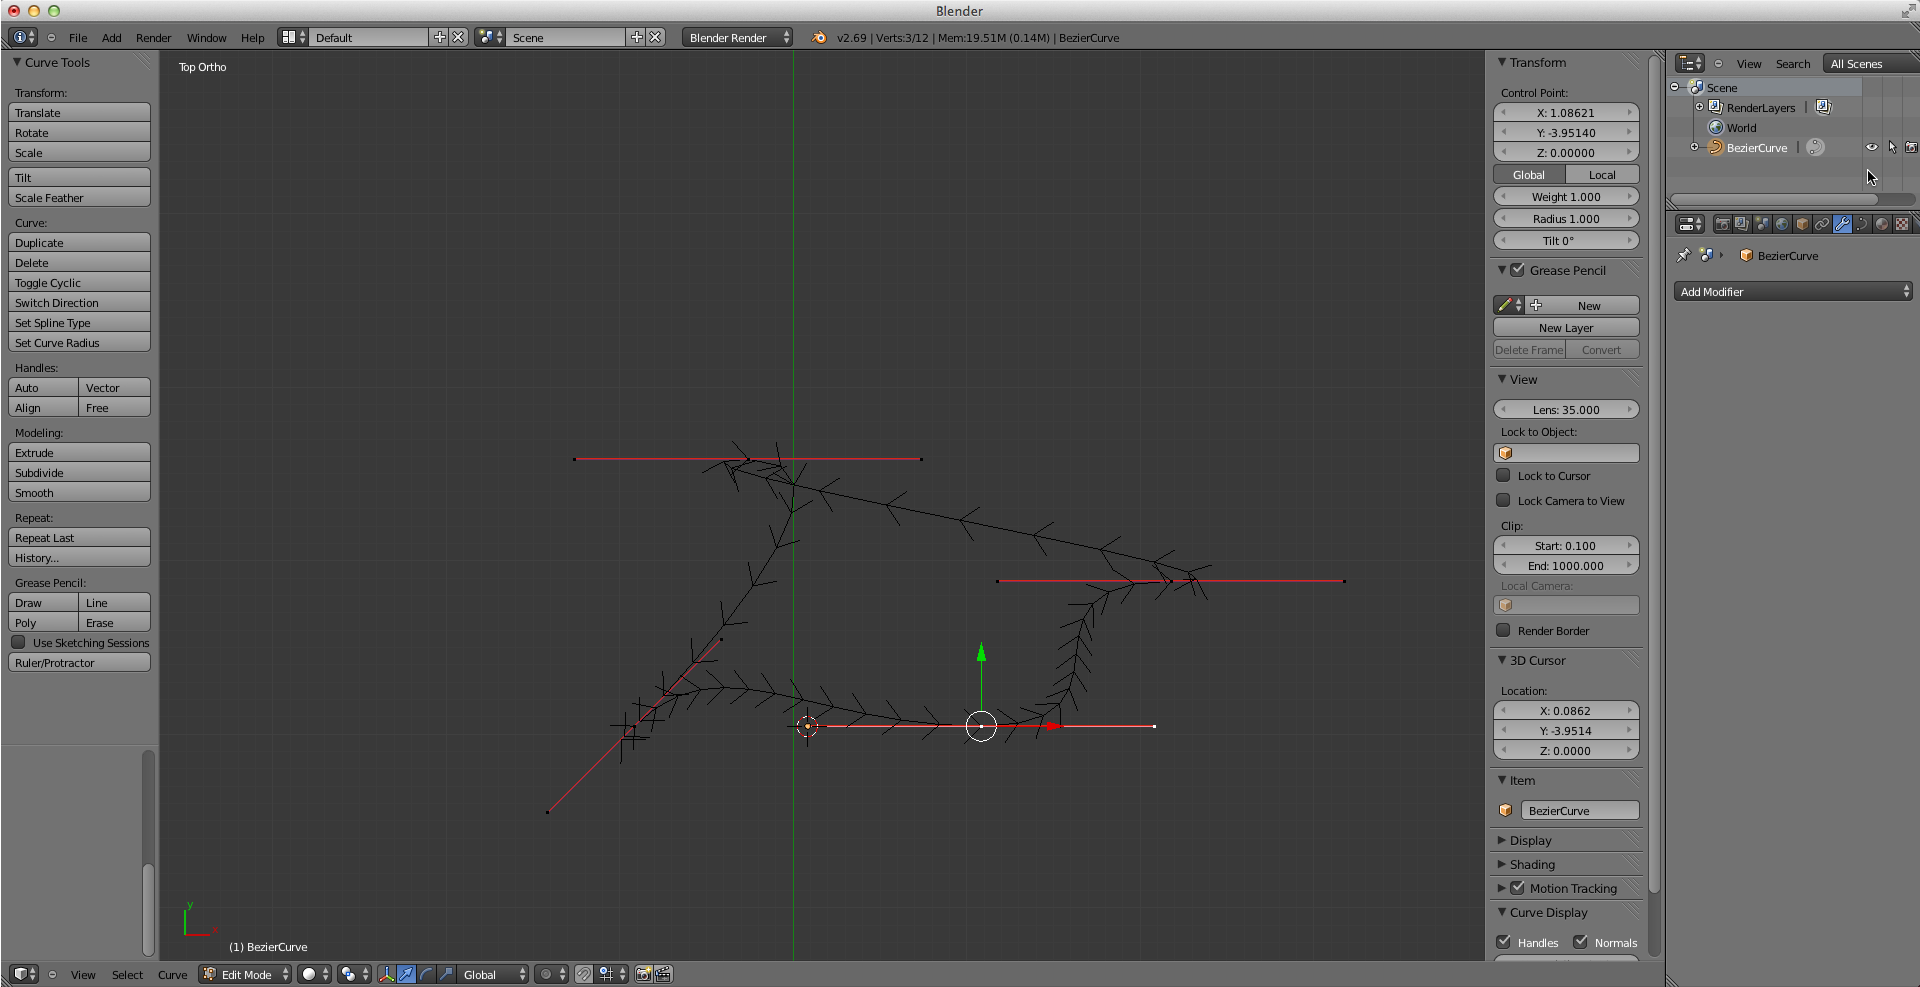
Click to enlarge
- Make sure you can see the numerical controls on the right side of the display like I have (the column that starts with “Transform”). If not, press “n” to toggle them on. Make sure it says “Control Point” under Transform; if not, you do not have a control point selected. Also make sure “Global” instead of “Local” is selected.
- Next, we’re going to place the control points numerically. If you are artistic, or want to have an imperfect but charming heart, you can drag the control points by hand to where you want them. Although I’d recommend that you still place them numerically first and finesse from there.
- For the bottom control point, you want its (X,Y,Z) to be (0,-5,0). For the control point to its right, put it at (5,0,0). For the next control point (counter clockwise), put it at (0,2.5,0). And for the last control point, put it at (-5,0,0). This gives you something like:
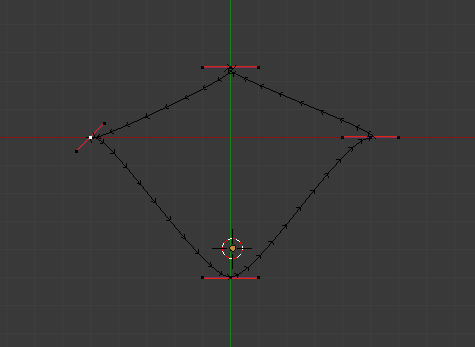
Finally, it’s looking more like a heart!
- You may have to scroll (mouse wheel) and pan (shift middle button, which is usually your mouse wheel) around a bit to get things visible the way you want.
- The next step is to edit the handles on the control points. Click on the control point for the bottom of the heart, press the letter v, and select “Vector”:
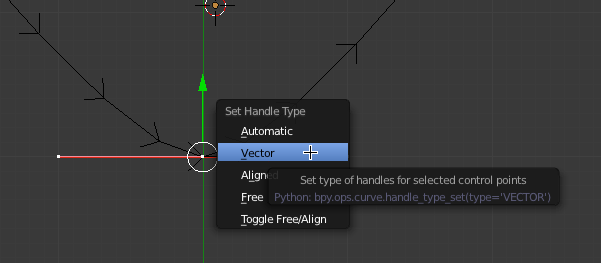
- This tells Blender that the angle coming into the control point has nothing to do with the angle going out — we’re looking to make a sharp point. You can see this reflected in the curve immediately:
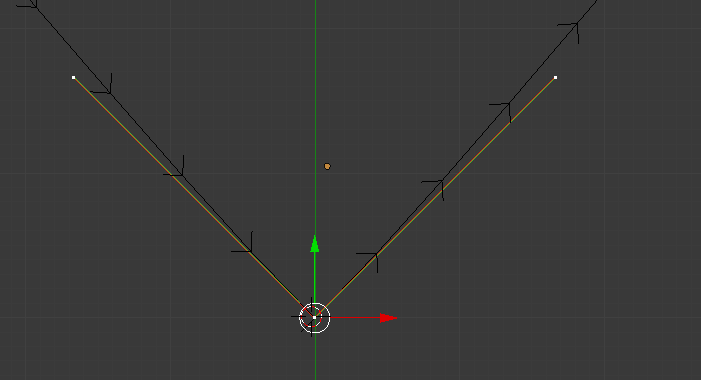
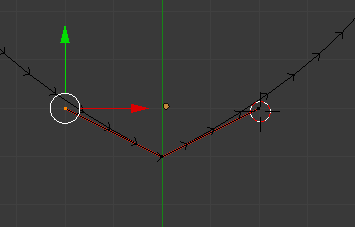
- Select (via right click) the end of the rightmost handle. Set its (X,Y,Z) to (2,-4,0). Set the left handle to (-2,-4,0). This gives us a heart like less sharp angle at the bottom. When you’re done, it will look like:
- Next move to the right side of the heart, and we’ll edit its handles. Note that sometimes the handles get twisted around, and you need to just drag them into opposite directions so the path runs smoothly through the control point. Select the control point first, press v, and set the point to “aligned”.
- Click the bottom handle and set it to (5,-2,0). The top handle should be set to (5,5,5).
- Select the control point on the left side of the heart, set its vector type to aligned, and the bottom handle to (-5,-2,0). The top handle should be set to (-5,5,0).
- Select the control point in the top notch of the heart. Press v, and set the vector type to Vector. Set the left handle to (-1,4,0), and the right handle to (1,4,0).
- The heart should now be complete:
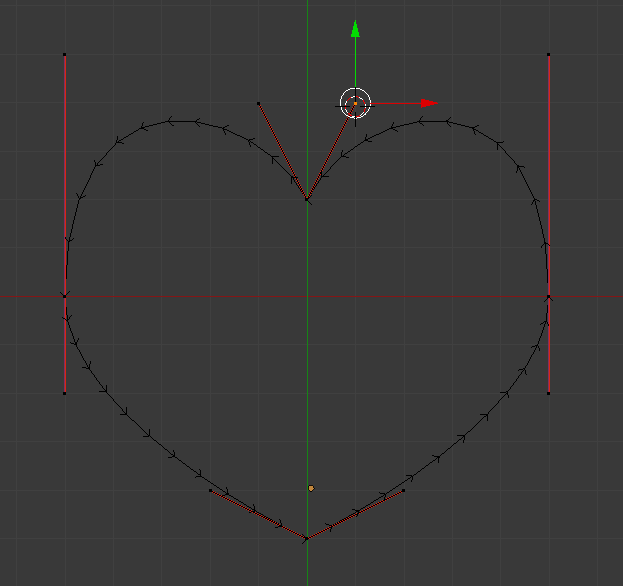
See, even the faint of heart can do this!
Naturally, you may wish to create a different heart shape — this one is pretty basic. But it is serviceable for now.
Extra credit: the Bezier curve is rendered a bit crudely, so you can increase the smoothness (at the expense of a more complicated image) by changing the resolution settings making Preview higher, for example 100:
