In the first part of this series, I wrote about some unsuccessful efforts in casting a sterling purse charm. I’ve got a good cast at last, and want to walk through what that process was like.
As a quick recap of Part 1, I’m trying to use new 3D Printing technology as a way to create items in precious metals (for the moment, sterling silver). 3D printing doesn’t do it all, but it automates a very important part of the process: the creation of a wax/plastic model that can be used to create a casting. After the unsuccessful cast (actually, several unsuccessful casts), I decided to reduce the size of the model to try something a bit smaller. Since I had received and assembled my 3D printer, a Printrbot JR, in the interim, I was able to reprint the model smaller without having to use Shapeways.
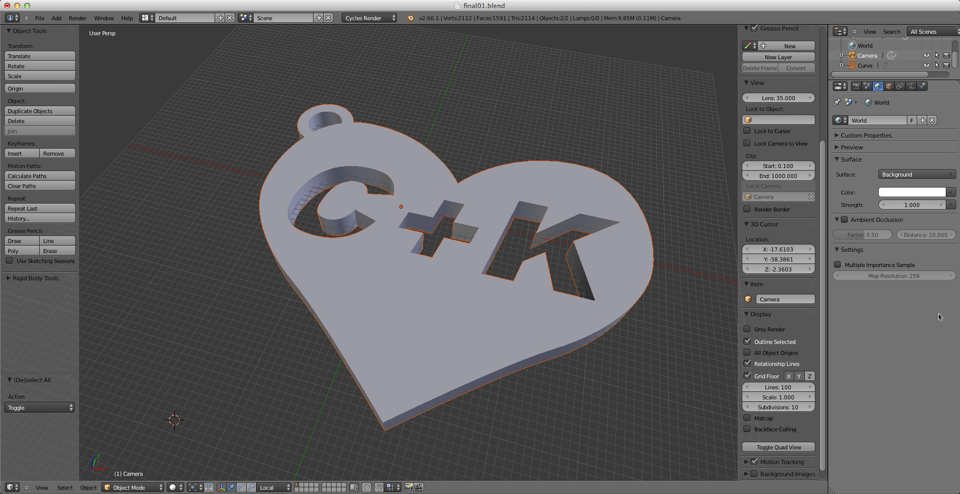
I started out by designing a fairly simple design in Blender 3D, the free 3D design program:
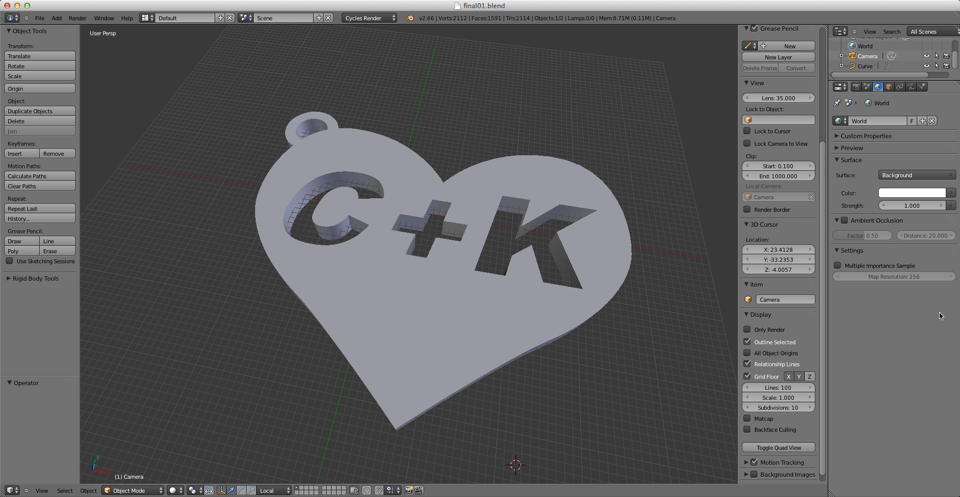
The heart made 3D
This gets exported into a format the 3D printing software can understand (“STL”), and then the charm gets printed on my Printrbot JR printer:
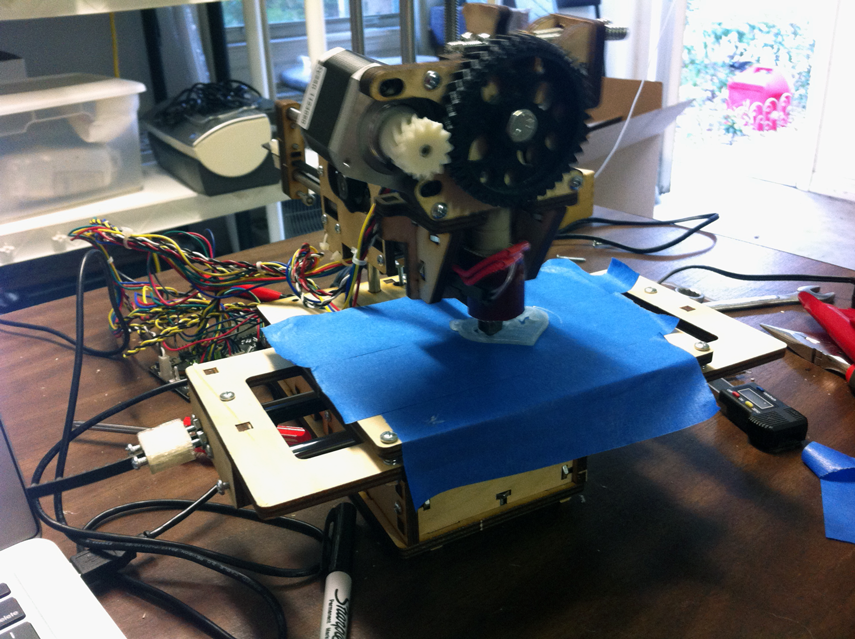
It ain’t pretty, but it gets the job done!
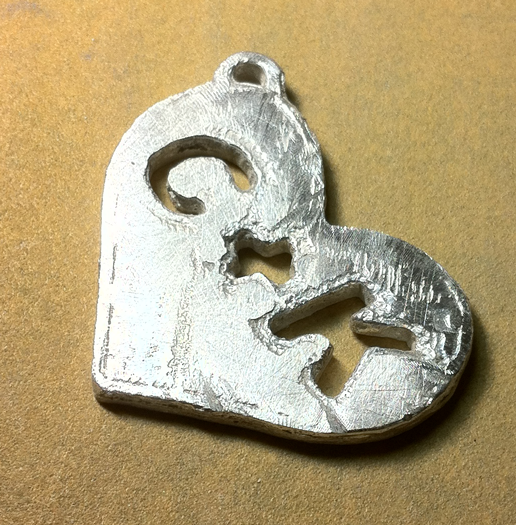
The end result is the design I created rendered in plastic:
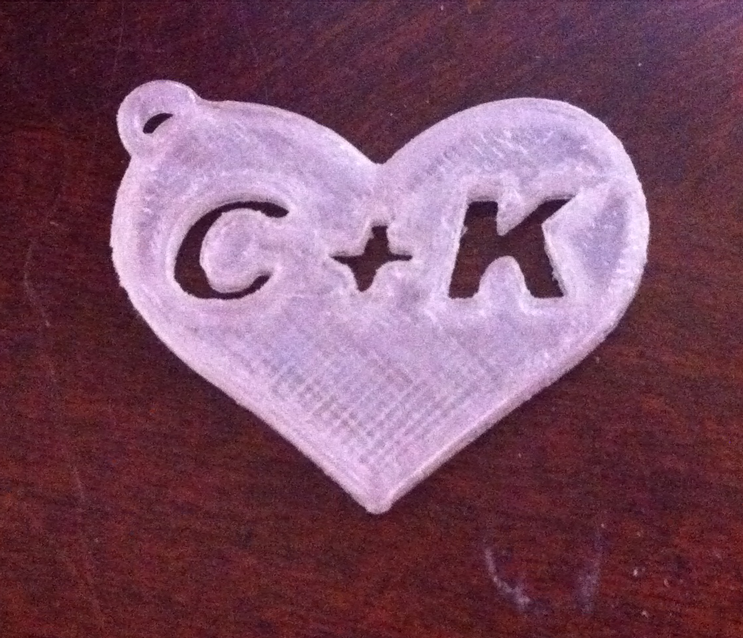
I (heart) Printrbot…
I did some clean up of the model — mostly with needle files to remove burrs and other large imperfections,
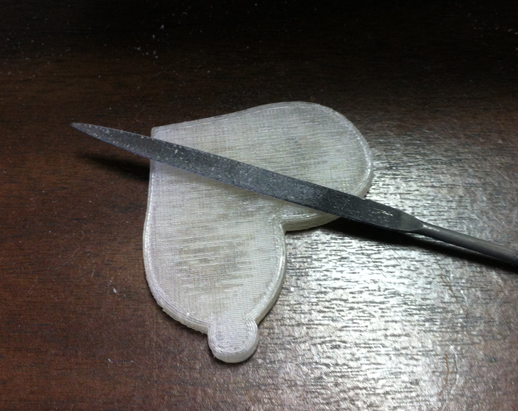
But can only get it so good in plastic…
and then it was off to cast it in silver.
The first part of this series talks about unsuccessful castings, and I finally have a good one. There’s a couple of challenges I had to overcome to get there.
First, the design I have doesn’t work as well as I hoped with the Delft Clay sand casting system. The system consists of two aluminum rings as a frame and a special fine grain sand (the clay) that you make the mold with, and is conceptually simple. You fill one ring with compacted clay, put your model in the middle, and then fill the other ring with clay:

The mold being created
At the bottom of the photo you can see a line around the outside of the mold frame — that’s where the mold separates. The next steps to finish the mold are
- fill the remainder of the mold with clay
- compact the clay
- pull the mold apart at that separation point
- remove the model
- put tunnels from the surface of the mold to allow the molten metal in and air out
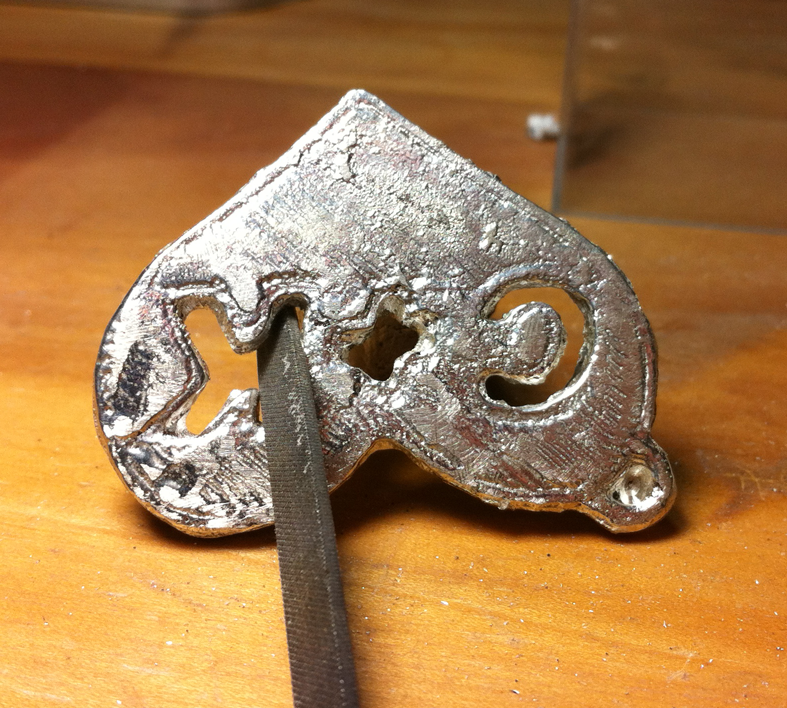
It was at the “pull the mold apart” point that I kept running into problems. For whatever reason, it was very very hard to get a perfect imprint of the inset C+K letters — the clay would stick to the model when I pulled it out. I used talc to coat the model. I even teflon coated the model. But the mechanical compression of the clay into the letters just made it too hard to separate cleanly. I eventually decided that the ratio of the size of the openings to the depth of the openings was problematic for clay, and when I got a “good enough” mold I moved on. I knew I could remove excess metal afterwards.
The next step is the pour of the metal:
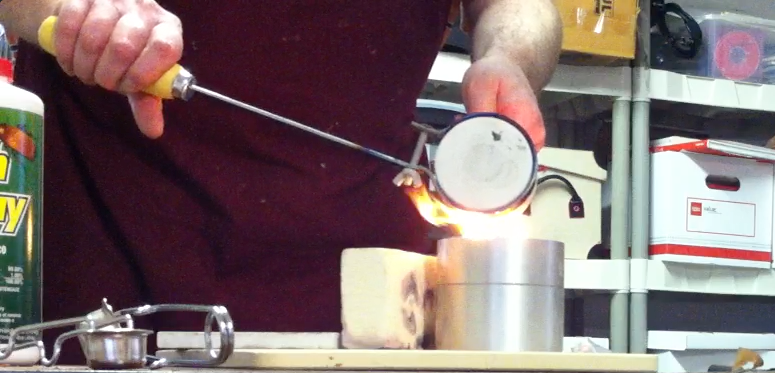
Molten Metal!
And this is where my choice of metal saved me! Because although this is a linear narrative, the process was not linear — I ended up (re-)casting this piece several times. Argentium® silver saved me! While ordinary sterling gets firescale (a pernicious kind of tarnish) every time you torch it, the Argentium stayed perfect through my repeated abuse of it. The very small incremental cost of it over ordinary sterling is trivial compared to the grief it saves me in casting. Maybe if I did everything perfect, quick, and once I wouldn’t care so much, but when you’re experimenting with new technologies having a metal that is extremely forgiving is just wonderful.
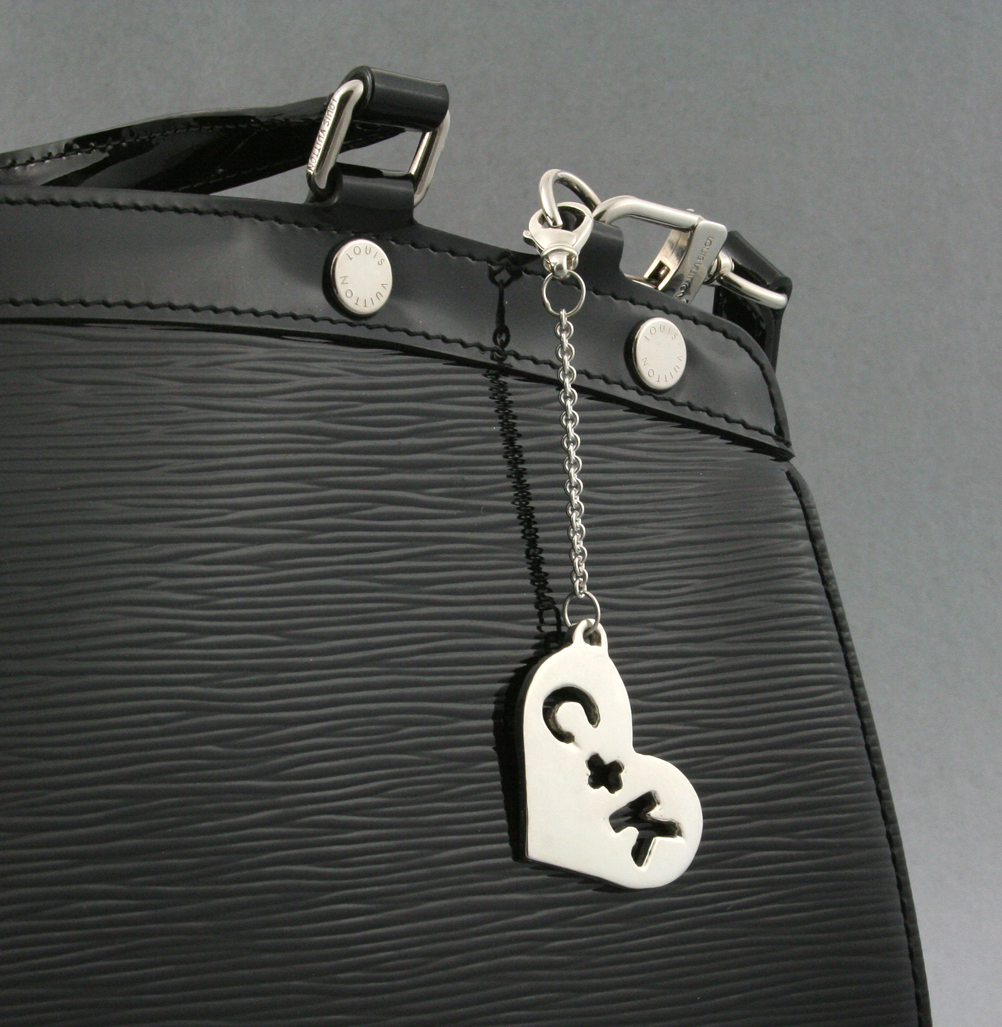
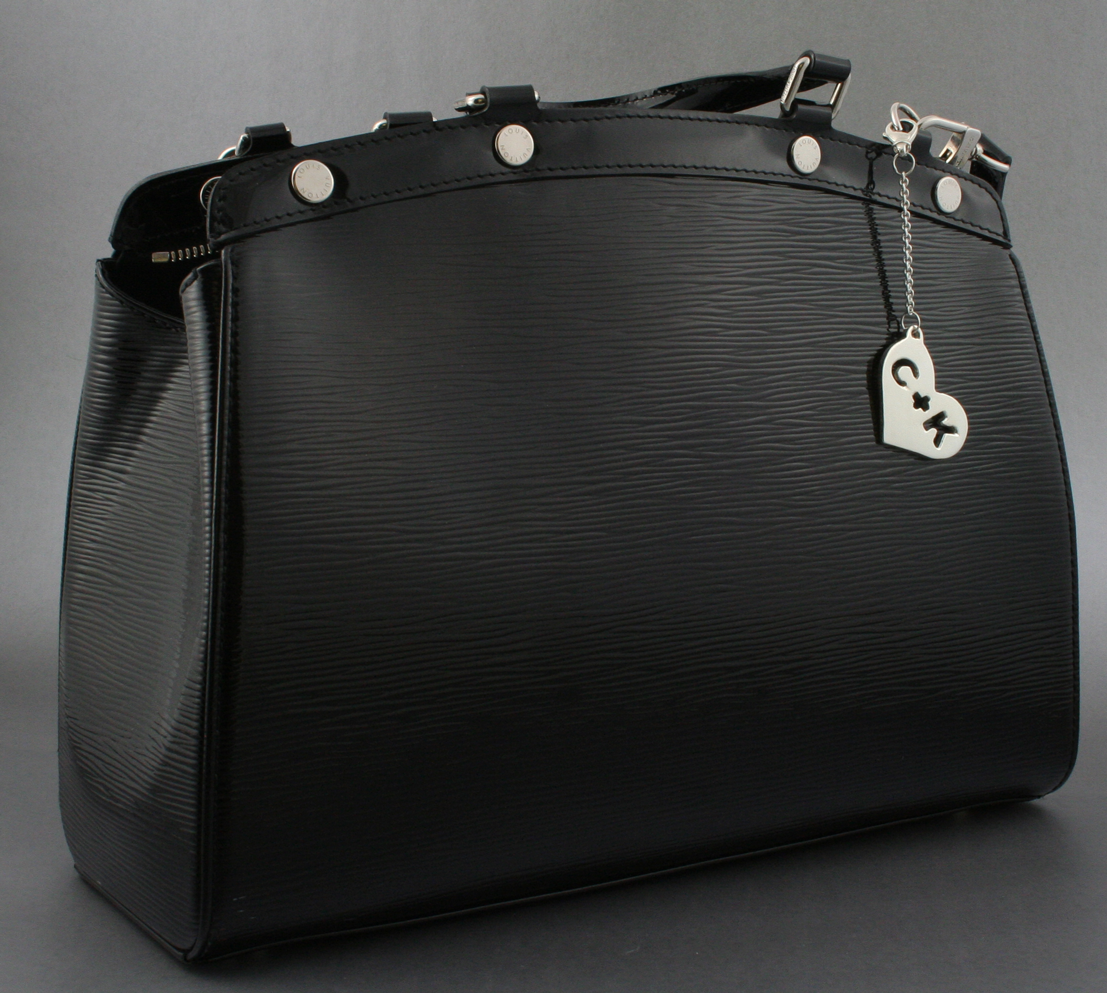
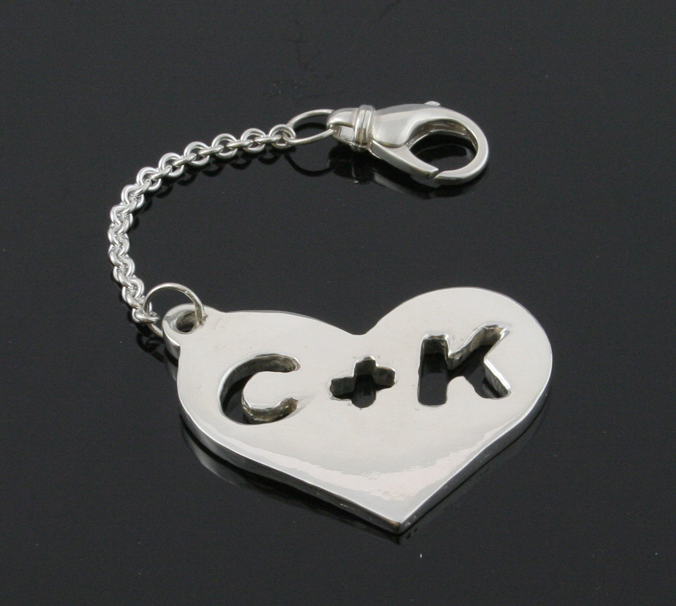
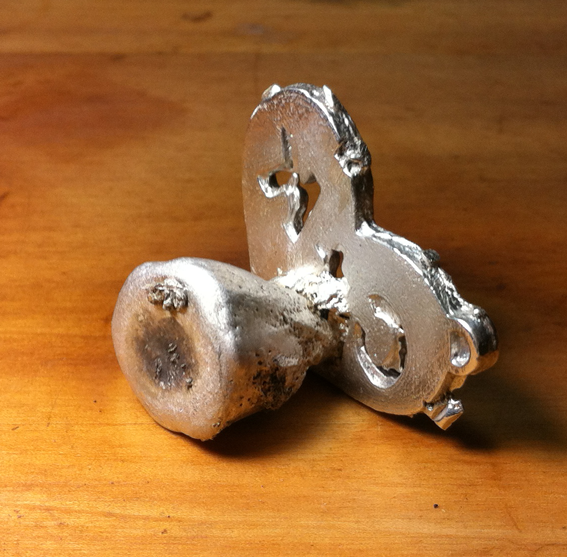
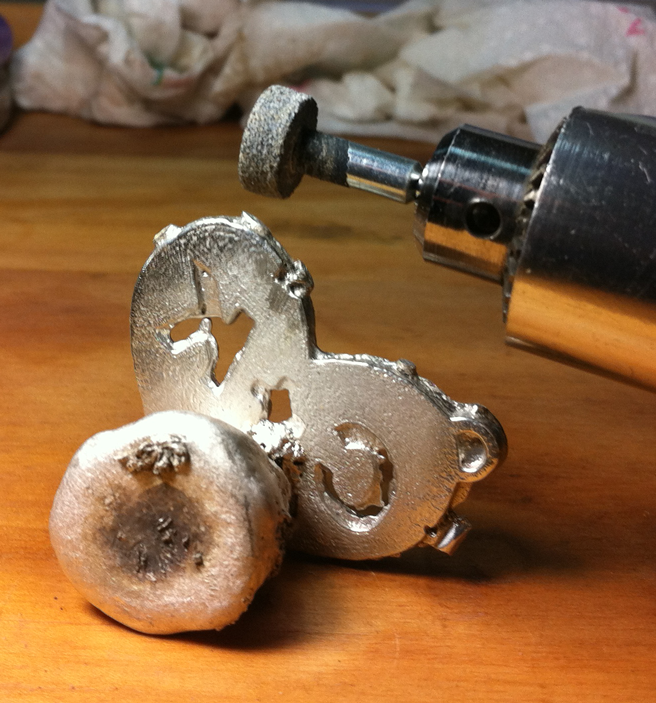
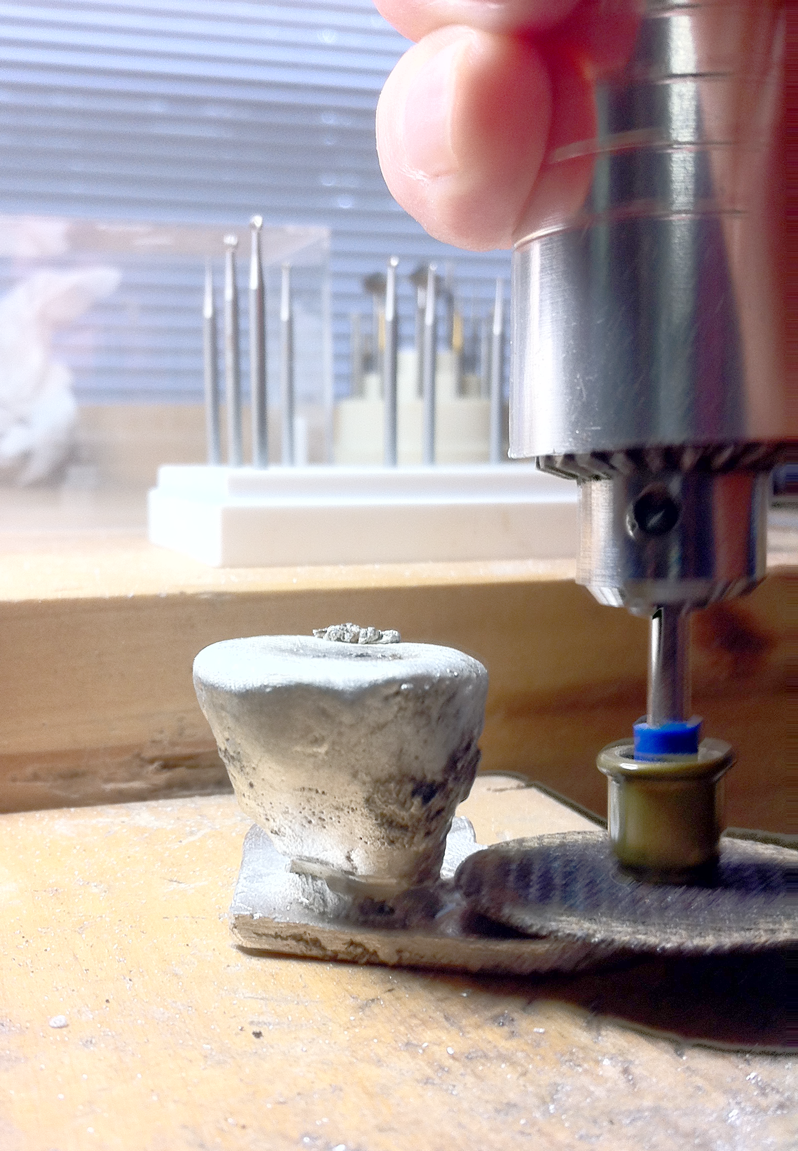
The final result was “good enough” — A little excess metal I’ll have to remove, but it will ultimately be more or less perfect when finished (fingers crossed!):
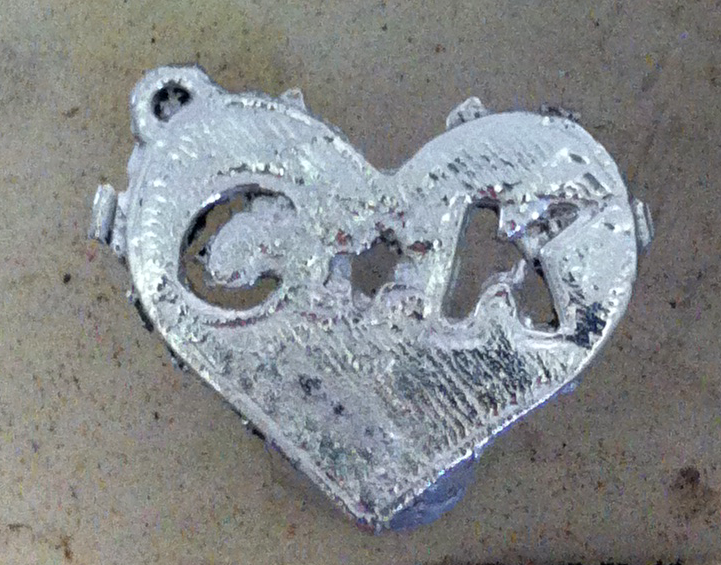
Close up on charm right after casting…
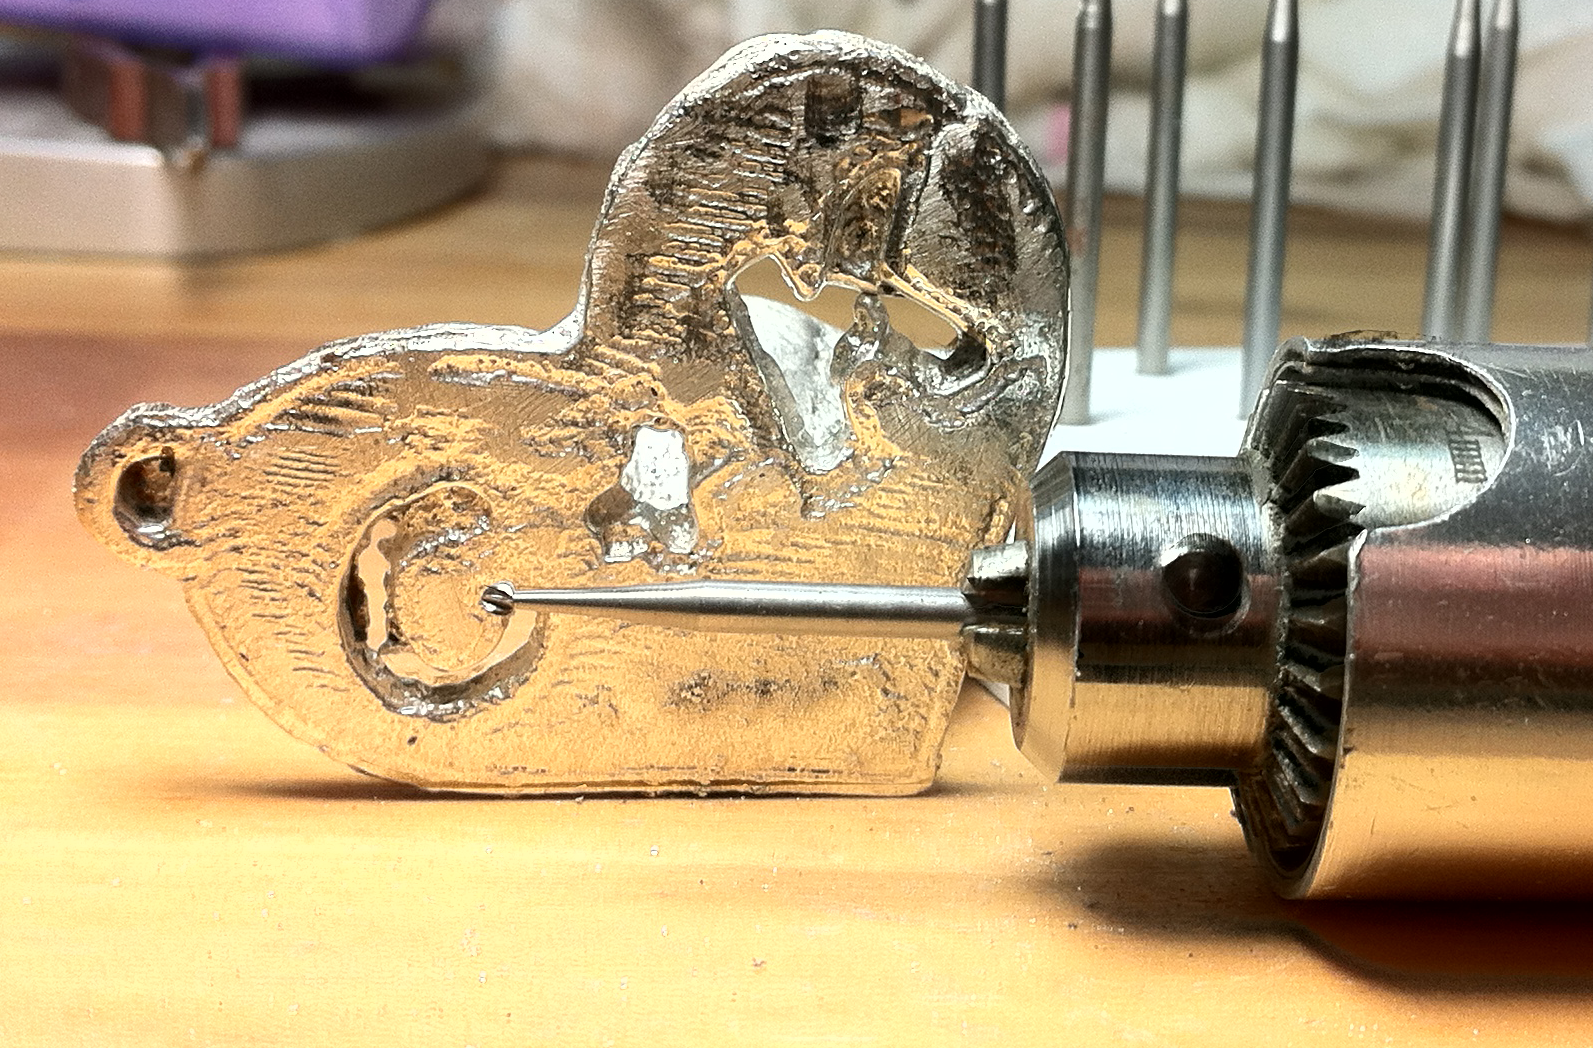
In Part 3, I’ll detail the finishing of the charm. Lots of elbow grease involved …
It may seem like there’s a bit of “stone soup” involved with creating precious metal jewelry with 3D Printing, but I don’t want to diminish the value 3D printing provides or the revolutionary nature of it. It is the same kind of CAD/CAM approaches that have cost 10 to 100 times as much beforehand, and the opportunities it offers artisanal and amateur (in the best sense of that term) jewelry manufacturers are phenomenal.
Continue to Part 3!